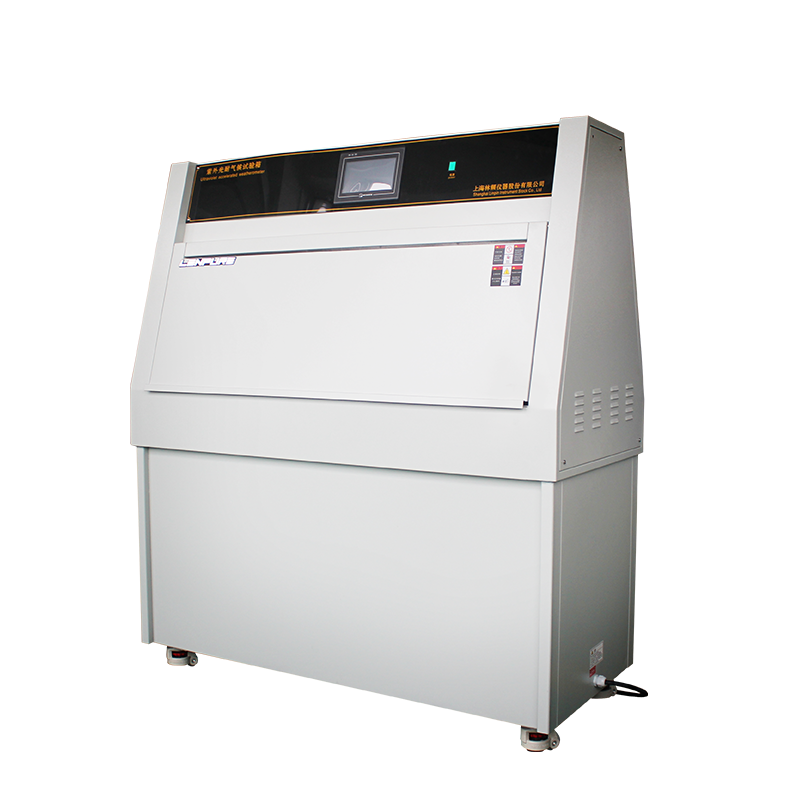
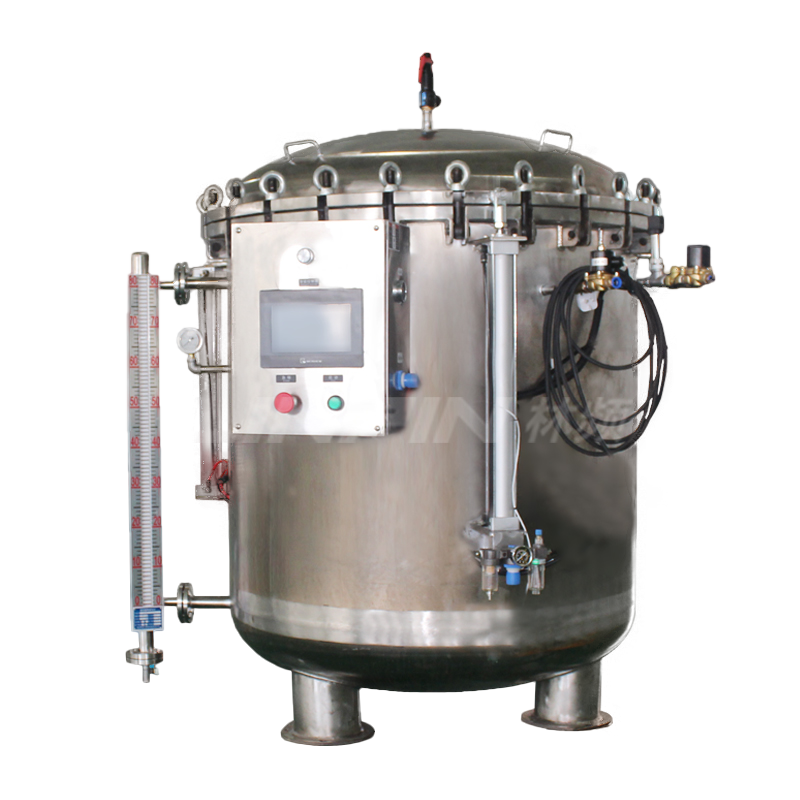
The entire testing process of a salt spray test chamber is relatively straightforward, and with technological advancements, the operation has become even simpler and more intelligent. Today, we will walk you through the detailed operating procedure, from pre-test preparation to completion.
Check Water Levels
Inspect the sealing water tank at the top of the chamber and the heating water tank at the bottom to determine if they need refilling. Ensure there is an adequate amount of purified or distilled water to prevent inaccurate test results or damage to the machine. Also, verify that all water and air hoses are properly connected to guarantee testing effectiveness.

Power On the Chamber
Connect the power supply and turn on the switch. If the low-water-level indicator on the panel lights up, add purified or distilled water to the chamber and the rear water inlet until the indicator turns off.
Prepare the Test Solution
Mix sodium chloride (NaCl) with purified water to prepare a 5% concentration solution. Adjust the pH value to the required level using acidic or alkaline solutions if necessary.
Add the Solution
Pour the solution carefully and slowly to avoid spillage, which could corrode machine components.
Adjust Pressure Settings
Set the pressure behind the salt spray chamber to 0.2 MPa, and the panel pressure to 0.1 MPa.
Set the Temperature
Different salt spray tests require different temperatures:
Neutral Salt Spray (NSS) Test & Acetic Acid Salt Spray (AASS) Test: 35°C
Copper-Accelerated Acetic Acid Salt Spray (CASS) Test: 50°C
Adjust the temperature using the panel’s temperature control arrows.
Set the Timer
Turn on the timer and adjust the test duration using the “+” and “-” buttons.
Place the Samples
Arrange the samples on the specimen racks, adjusting the tilt angle according to standards and sample size. Ensure sufficient spacing between samples and the chamber walls, as well as between samples themselves, to guarantee that over 98% of the surface area is exposed to the test conditions.
Start the Test
Close the chamber lid, activate the spray function, and begin the test.
Monitor the Test
Do not leave the chamber unattended during the test. Continuously observe the chamber’s condition to check if water needs to be added or if spray volume adjustments are required.
Post-Test Procedures
After the test concludes, turn off the power switch and perform draining and defogging to clean the salt spray chamber.
By following these steps, you can ensure accurate and efficient operation of the salt spray test chamber while maintaining its longevity.


Copyright © 2025 Shanghai Linpin Instrument Co., Ltd Copyright
| ICP Number:Shanghai ICP Record No. 12029585-7
| Sitemap


 EN
EN
 中文
中文 Pусский
 Tiếng Việt
 ภาษาไทย
 پاکستانی زبان