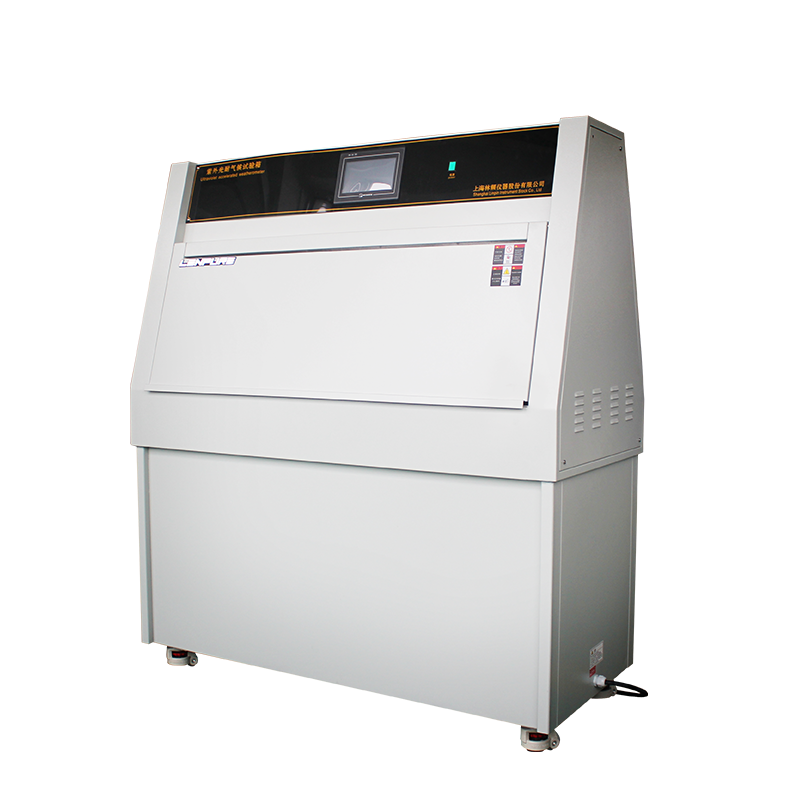

Lamp Specifications and Application Scenarios
UV weathering test chambers are typically equipped with either UVA-340 or UVB-313 cold-cathode fluorescent UV lamps. The spectral differences between the two types directly influence the acceleration factor and the reliability of test results.

UVA-340
• Peak wavelength: 340 nm, spectral range 295–365 nm; closely replicates the short-wave UV portion of solar radiation.
• Moderate acceleration factor; aging mechanisms correlate well with natural outdoor exposure.
• Recommended for evaluating long-term outdoor weatherability of materials such as automotive exterior components, building profiles, and coating systems.
UVB-313
• Peak wavelength: 313 nm; delivers significantly higher short-wave UV energy than natural sunlight.
• Rapidly induces yellowing, gloss loss, embrittlement, and other aging characteristics, thus shortening test duration.
• Suitable for rapid screening during R&D or quality control, provided that applicable test standards allow its use. Care is required to avoid excessive damage to sensitive materials.
Conclusion: Lamp selection shall first comply with the relevant test standard or customer specification. In the absence of mandatory requirements, selection may be based on the required test duration and the material’s weatherability rating.
Lamp Replacement Procedure
To ensure personnel safety and equipment performance, lamp replacement must be performed in strict accordance with the following steps:
Power-off
Switch off the main power supply and confirm that all indicator lights are extinguished to prevent UV radiation and electrical hazards.
Remove Covers
Detach the rear upper electrical access door and remove the UV temperature sensor panel and any other associated covers to provide adequate workspace.
Remove Old Lamp
Open the inner doors on both sides of the chamber. Grasp the plugs at both ends of the lamp and pull them straight outward. Carefully slide the lamp along the guide rails and withdraw it for proper disposal or recycling.
Install New Lamp
Insert a new lamp of the same type and rating along the guide rails until fully seated. Firmly reconnect both plugs, ensuring no looseness or misalignment. A spiral glow or slight flicker during initial ignition is normal and will stabilize within 5–10 minutes.
Restore and Verify
Reinstall all panels and doors; restore power. An immediate irradiance calibration is recommended to confirm that test conditions match set points.
Record and Archive
Complete the “Lamp Replacement Log,” noting the replacement date, lamp batch number, cumulative operating hours, and calibration results. Retain records for traceability.
Precautions
• Use only lamps of identical type and power rating; mixing is prohibited.
• Wear UV-blocking safety goggles and powder-free gloves during the procedure.
• If unfamiliar with the electrical configuration, the task must be performed by qualified technicians.
• Used lamps contain mercury and must be treated as hazardous waste in accordance with local environmental regulations.
Scientific lamp selection and standardized replacement practices ensure the continued accuracy of test data and the longevity of the UV weathering test chamber.